Thursday, March 28, 2013

Flowers in Vase

Nice "spring-y" project that we ended up all doing.  First it started as a Art3 project that just the 3rd and 4th grader was doing.  3rd grader was learning about art of porcelain pottery.  Then I found that the Art1 had a still life that was a vase also.  So, voila!  We'll all do it.  :-)
 
2nd graders
(I love those contrasting colors on the right!)
  
1st grader's and preschooler's
(FYI: The flowers were difficult for the 1st grader and preschooler.  :-))
 
 
4th and 3rd graders
(I want a vase like that purple one!  :-))
 
Actually, a very simple project that really doesn't take a lot of time.  When I did this with the Preschool-2nd graders we finished it in 2 days.  1st day we folded a 9x12 piece of white construction paper in half and trace a half of vase and cut out.  Then added crayon design and water color.  We also took the time to add a tablecloth and wallpaper to the background paper.  The next day I worked with them to make tissue paper flowers and I hot glued the vases and their flowers. 
 
Directions to the tissue paper/button flowers can be found at


Wednesday, March 27, 2013

Vincent van Gogh

Our group lesson this week has been inspired by Art1: Vincent van Gogh.
 
 
What was really cool was that the 1st grader and I had gone through the first portion of the lesson and the next day we went to the Midland Center for the Arts: Grossology Exhibit.  We spent some time in the other parts of the museum, outside of the exhibit and lo and behold...we found the same piece of art work as above-his self-portrait (but with a pipe).  Then we stuck around for awhile and realized that there was a bit of technology involved and it would change from one self-portrait to another, leaving the face and pipe.  So they saw...
    
Well, versions of these.  :-)  They were definitely recognizable but they all used the face of the one on the top left, with the pipe.  And every once in awhile the pipe would "puff".  Then on the other wall was one on the left and leafcutter ants took pieces off the "framed art" (using again that top left self-portrait) and moved it to seperate frame and put it all back together with the added touch of a butterfly putting the last piece on.  :-)  Very cool use of technology and famous artwork!
 
So, our lesson...Starry Night
Definitely a well-known piece of artwork!
We had fun with this.  We added a little "extra" to K12's 1st grade lesson because I wanted them to explore with thick paint and texture.  :-)  But we didn't get into as much if I had just older students.  I can see grades 4+ really get into this!  We took three mornings to do this to allow the paint to dry in between.  Day one we browsed through Vincent van Gogh's artwork and then spent some time with the Starry Night one.  Actually, what I do is find eart work and save them to a file on the laptop and then we watch a slideshow.  :-)  We worked on to bottom portion of the landscape.  I provided dark colored paints and for whatever reason they all chose green for bottom of landscape and blues/purples for mountains/hills.  :-)  Day 2, I provided colors to make shades of blue for the sky and white for them to swirl.  Day 3, they added yellow in the sky and any other details they wanted. 
Grade 4
 
Grade 2
 
  Preschool
(with help---he really enjoyed this!)
 
Grade 2
 
Grade 3
 
And last but not least...our 1st grader's:
 
They did a job well done!
 
The Vincent Van Gogh pictures were from Wikipedia.
 
This is a pretty cool variation...
Bottle caps!  I found this at
 

Tuesday, March 19, 2013

Mosaics-Byzatine Empire

 
Another shout to K12's history/art curriculum.  By the way, MVCA is taking applications for 2013-2014 school year.  :-)  Here's the link. http://www.k12.com/mvca.  This is for Michigan's online public school using the K12 curriculum.  Many states have this online schooling option available.  You can check your state at www.k12.com.
 
The 2nd graders have spent quite a bit of time learning about the Roman Empire in history.  They learned that Rome started about 2700 years ago with a small group of villages.  Then it grew into  a huge empire. Then they learned about what caused the empire to split into the Eastern and Western Empires and they learned that the new more modern term "Byzantine Empire" represented the Eastern Roman Empire.   Also, that the Emperor Justinian who caused the Eastern Empire to grow was a Christian, which brought us to some of the art work within the churches.  :-)
 
Of course, there were many more details throughout those lessons.  But what's really neat with the K12 curriculum is that often art and history are connected somehow.  Not all the time, but often. And I love how they go back and make connections to past lessons because that's how children really learn...repetition! So in Art they are revisiting Ancient Rome.  They are being reminded of all the beautiful architectural work, temples that were built to worship their gods/goddesses and all the amazing artwork and marble sculptures.  They were reminded about the city of Pompeii which was buried over the course of 2-3 days when Mt. Vesuvius erupted.  And they were shown a picture of a Roman bedroom that was preserved.  The lesson title was called "No Window? No Problem!"  :-D 
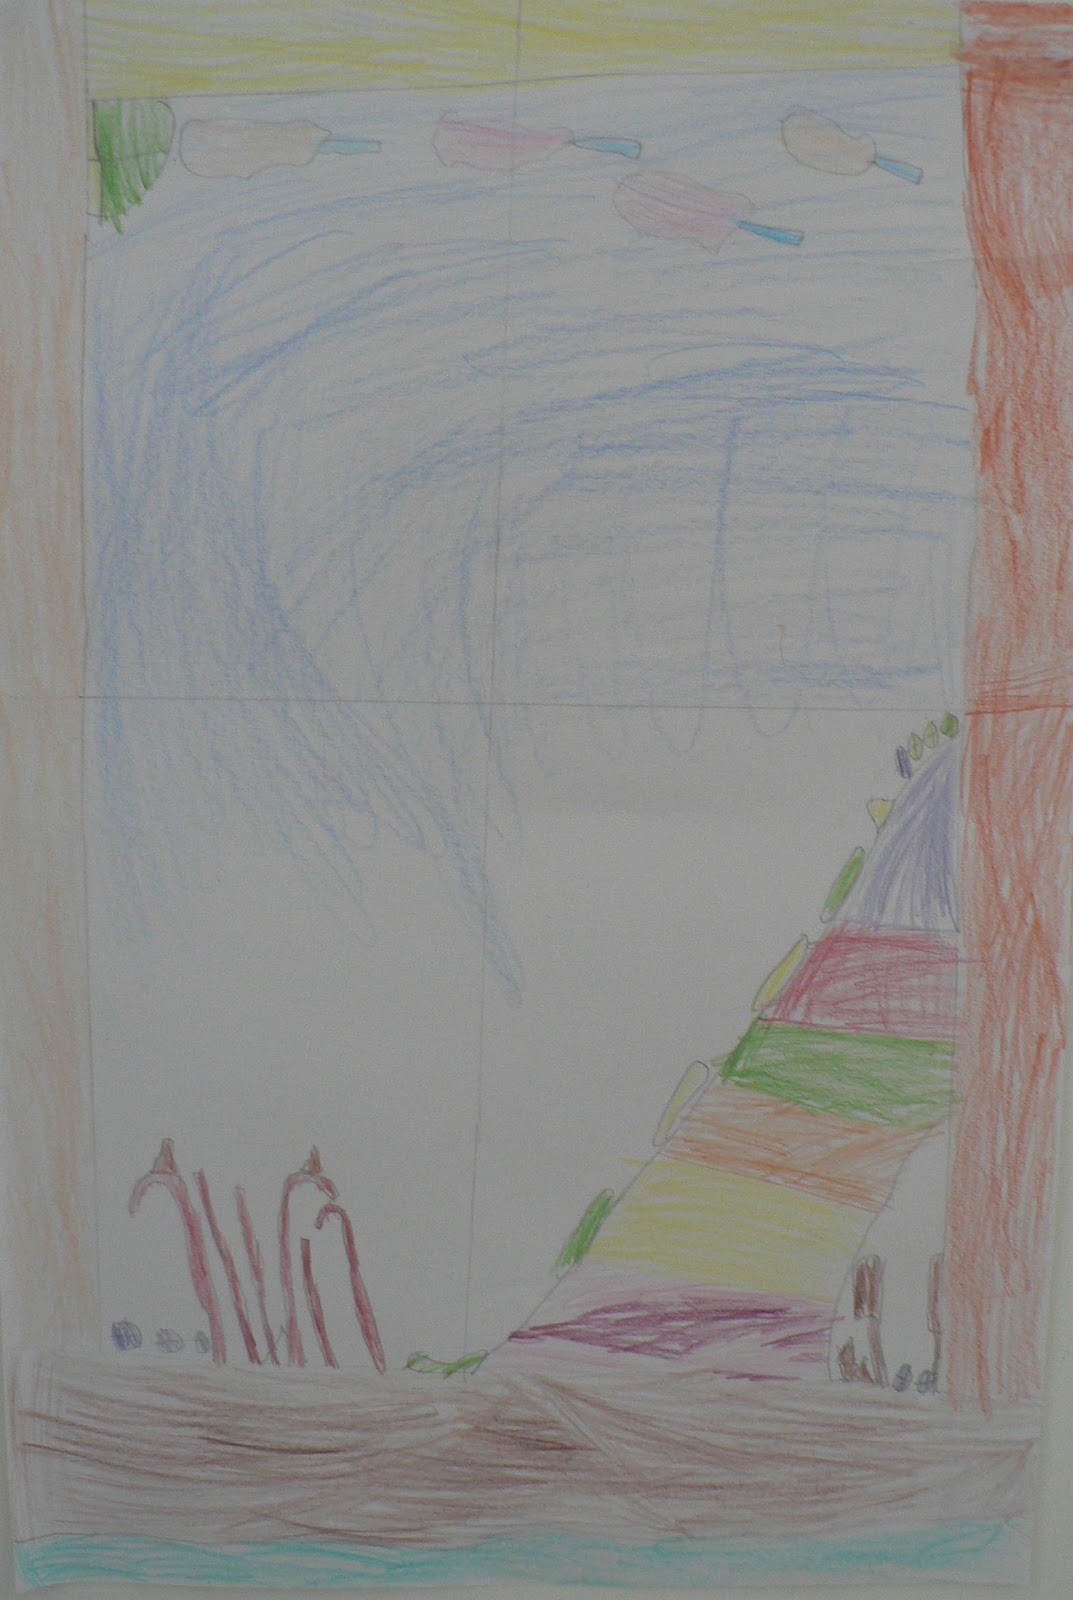
The walls were frescoes (paintings directly on the plaster of the walls) and the floor was a marble mosaic.  (I couldn't find the same picture as in the lesson.  :-( They showed more of the floor.)  The walls were painted with windows and scenes outside windows and from what I gather from the lesson, there wasn't an actual window in this room.  All of them were painted! So the 2nd grade lesson was to paint a window and a scene outdoors. 
They started with making a window sill and frame. The one on the left is very typical for that child, very detailed and the one on the right ... yep, that's typical too! He did a fictional scene. Seems to think that drawing realistic scenes are harder. :-D So he made a CandyLand scene out the window. Ha!
 
In a 3rd grade lesson, back in November, the children painted on plaster squares my husband made for them.  That lesson was touching on frescoes also.  Not exactly the same as painting on wet plaster but fun anyway!  
 
Anyway, they moved onto some of the mosaics after talking about the floor of that room was a marble mosaic!  That marble mosaic floor was 2000 years old.  So we had a good conversation on whether carpet would last 2000 years.  :-D
 
The mosaic below was one of the pictures also shared with the students.  Remember that Emperor Justinian was Christian, he had many of the bible stories created in mosaics on the walls of churches. They did a good job and helping the children understand just how much marble would be needed and how much work it would be do create a mosaic like these.
 
Emperor Justinian and his Attendants
 
So after discussing mosaics for awhile all the students created a paper mosaic.  They turned out well!
Yes, time consuming, but definitely neat outcomes.  I see now in the picture that he should have used hot glue to glue his seaweed down.  Seems that liquid glue didn't hold it down.  We'll have to fix that.  And no, that isn't part of a typical mosaic but I try to allow the children to follow their creative whims.  So if the project turns out a little different than I expected, 'tis okay.  :-)
1st grader really wasn't "into" this project as you can tell.  :-)  That's his sun.  2nd grader's umbrella, notice the little tiny piece of handle coming back up at the bottom of the page.  Interesting!  And he added darker blue for rain.
2nd grader's carrots.
 
 
Preschooler's sun on the left and 3rd grader's heart on the right. 


Monday, February 25, 2013

Paper Cut Portraits and More

This activity was such a neat process!  It took us multiple group lesson sessions with only 1 adult helping.  This was a K12's 2nd grade art lesson (we changed it a bit due to amount of paper I had available, instead of a self-portrait we just did a portraits.  Two did their own likeness.). I would agree that it's best for 2nd grade up but I had a preschooler (pretty much hand over hand) and a 1st grader that had success with it.  The kids loved the end product!  I loved having them on my walls. :-)
4th grader                  1st grader
 Notice the cowlick on the fourth graders.  :-D
 
 3rd grader
 
     2nd graders
 Loved the glasses!
 
preschooler (with lots of help)
 
This was the third or fourth project we did with faces.  They have come a LONG way.  Shape of face, filling up most of the paper.  Facial feature proportion and location, etc.  A tip for you, if you do this type of collage, have them look in a mirror and compare their pointer finger with the sizes and location of the facial features.  It helps when sketching their paper cut features.  If they fill a 9x12 piece of paper, the size of their head is pretty close to the size of their actual head.  We got a multicultural color pack of construction paper from Discount School Supply.

 
-----------------------------------------------------------------------------
A previous self-portrait lesson.
It happened that 3 of the 5 elementary-aged students had self-portrait projects around the same time.  So we turned it into a whole group morning lesson.  4th grader did 3rd grader's lesson because he didn't have a self-portrait project in the near future.  He loves to be able to do other's projects.
 
1st grader
painted, "shoulders up/bust" self-portrait
              
2nd graders
Full body self-portrait with drawings that interested them in the background.
 

3rd and 4th grader
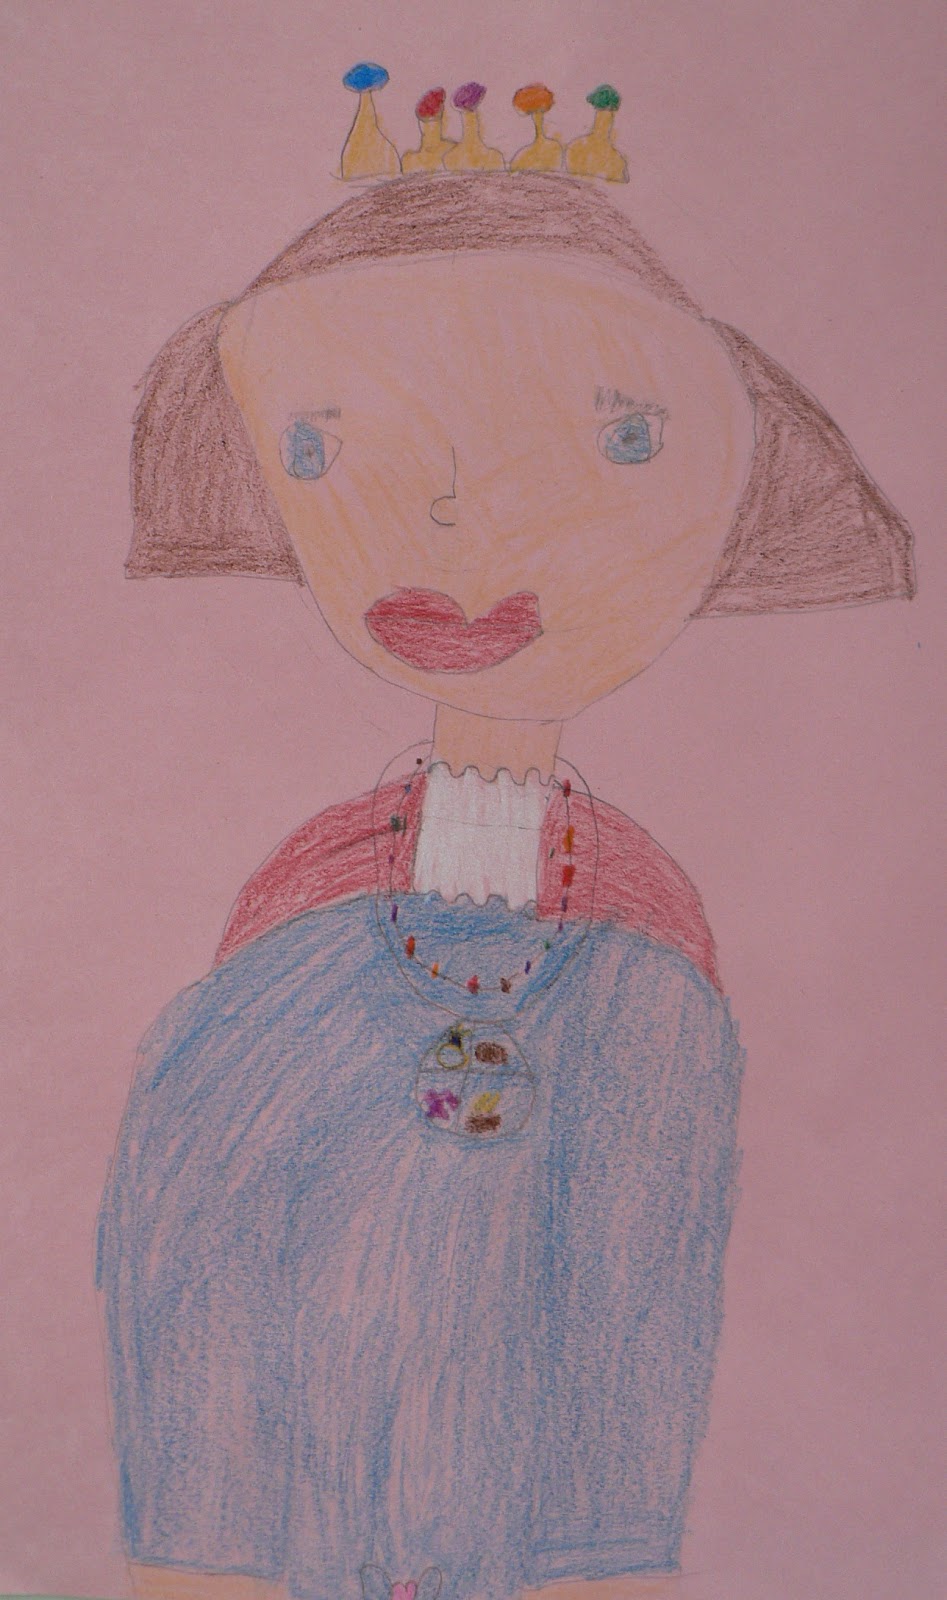
Self-portrait-royalty.  They really had fun with this one!
-----------------------------------------------------------------------------
 
 
This was a fourth grade art lesson that went along with African Masks. I've done this project with older school-agers in the past. It's always a favorite.
Simply choose two colors of paper. Fold one in have like a hot dog. Trace a simple half of face starting at the fold. Cut out. (A. used an Exacto knife to cut out facial features). Glue the cut out page on the left side of the 2nd contrasting color of paper, and the cut out facial features to the right side. Fun stuff! I really wouldn't suggest this for anyone younger than 3rd grade. 

Wednesday, February 20, 2013

Phonics

I'm definitely a believer of teaching phonics.  :-)  Another shout out for MVCA/K12's curriculum...their PhonicsWorks curriculum is lovely!  I so wish my other kiddos had experienced this. Not that they didn't touch on phonics at brick and mortar.  They did, but they didn't go into as much as K12's does.  The other kids are learning quite a bit from our 1st grader's lessons that is helping their spelling!  I find that my own 2nd grader tends to balk at writing and some of it is because he's a bit of a perfectionist and he doesn't like it when his words are spelled wrong.  So now we are going back and teaching phonics rules.  Here is a few of the activities we've done for 1st grade with regards to phonics.  I wish that I took more pictures of some of the phonics things we do. Oh well, that's the way it goes. This is just 3 of many.
 
 
Contraction Caterpillar
Self-explanatory :-)
 
 
 Nouns/Verbs/Sentences
Broke the paper into 4 categories for nouns-
person animal, things, places
On the post-it, child dictated two nouns to go with that category.  Underneath, he wrote a verb (making sure to use the correct form of the verb) to go with that noun.  Then each day he chose one noun/verb pair from each category and wrote a complete sentence.
1.  Does it make sense? (Subject and a predicate?)
2.  Does it start with a capital letter?
3.  Are there finger spaces between words?
4.  Is there punctuation at the end of the sentence?
5.  Are your forming your letters correctly?  Do they bump the line?
(Penmanship has come a LONG way for Mr. L. So I pick and choose my battles when it comes to what I have him erase and rewrite.  Now that he's on the right track with pencil control, correct letter formation, and stamina...I want him to begin to enjoy writing vs. it just always being "hard work".  With this activity in particular, I was trying to help him move from HWT's paper to regular penmanship paper because one never knows what the future holds and he may need to know how to write on regular penmanship paper.  I do love HWT's paper though!   
 
 Post-Its are lovely!  Picture is poor.  Sorry! 
ed as /ed/, /d/ /t/
This was a quick activity before heading out for our Children's Museum field trip.  I wrote the sound that ed can make on post its to make 3 categories.  Then he chose an orange post-it, read the word, told me what I needed to do to make it past tense (double the letter or not) and put it in the column of the sound he heard at the end of the word.  Now when they hear a word like "helped" they are less likely to write helpt.  :-D  Why?  Because we have learned that ed can make three sounds.  We also have learned about what a base word is.  I love to hear them talk it out to themselves.  "Base word is help.  The verb tense is past.  Let me finger stretch it.  /h/ /el/ /p/ /t/.  h, l...no, wait...I need at least one vowel in every chunk... h-e-l-p-t.  No, past tense is ed.  h-e-l-p-e-d."  Makes a BIG difference!  Now that we have a few rules under our belts, :-), I very seldom just spell a word when they ask anymore. We go through clapping out the word, finger stretching the sounds, thinking of different rules, etc.

I decided to make a very simple -ed sort mat for this activity though...my 3rd grader is having a bit of a time hearing the ending sounds that -ed makes so this will work for her also.  For good measure, I think the 2nd graders will do it also.  I typed base words and they have to state what the past tense of that word is (knowing you add -ed).  Then figuring out if you have to double the last letter before adding -ed or not.  Then they'll sort it into the correct column.   
 
You can get download it for your own use here if it's something that may be of use for you.

Monday, February 18, 2013

Crystals

Ah, I feel we have so much we could be doing but so little time.  Hopefully next year will be better!
 
We grew some crystals during our Rocks and Minerals unit...
 
 
It was a snow day when we were planning on doing it and 2 kiddos didn't get here.  Have two recipes we wanted to try...but we haven't gotten it done yet.  The story of what happens around here.  If we don't start or complete an extra when it is planned, the probability it won't get done is high.  Anyone else have that struggle?
 
We followed the recipe of 12 TBS of borax in a large jar of boiling water.  I think it was a bit too much borax...but they turned out anyway.  Remember to have your pipe cleaner design small enough that you can get it out of the jar when it has grown.  :-D  And be sure it doesn't touch any of the sides to begin with.  Use lots of food coloring...and light colored pipe cleaners for best results.
 
This was a very simple activity to get this idea of metamorphic rocks across.  I provided snickers and they applied heat and pressure to make a new form of rock.  :-)
 
So, my goal of getting a group picture each month...
yeah...January, it didn't happen.  :-D  So we can count this one...but there are two extra girls and we are missing T.  :-D  (Ice Skate birthday party...fun fun fun!)
 
Or this one...A.'s birthday.  Neither are all that grand...and neither were in January.  Both were at the beginning of February.  But if I hadn't said anything, noone would have known.  LOL  We'll get another one here this next week...hopefully!